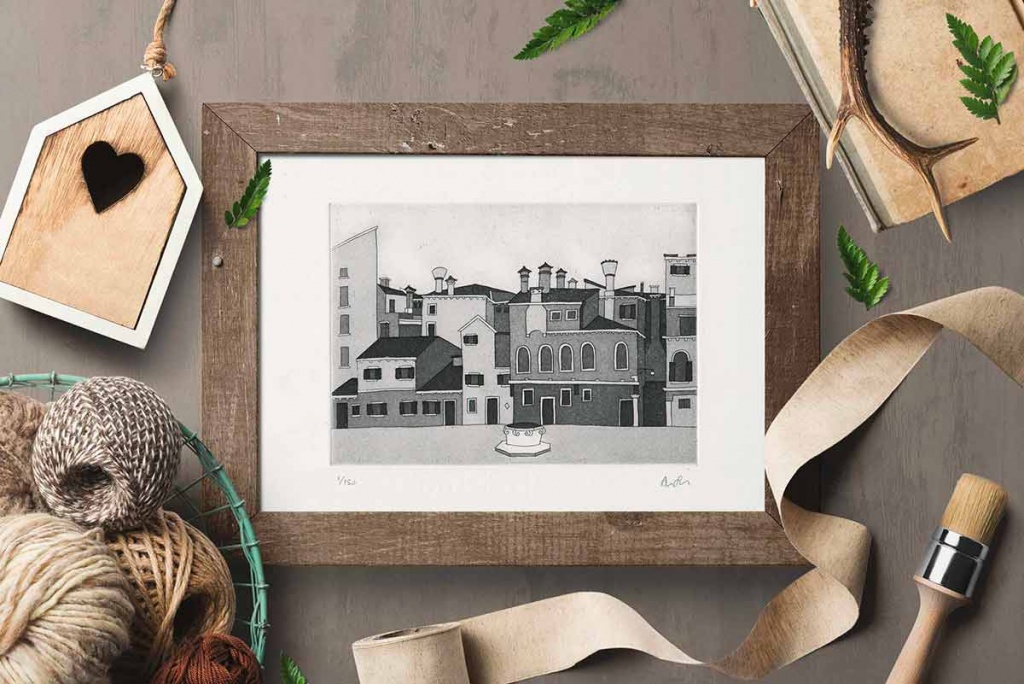
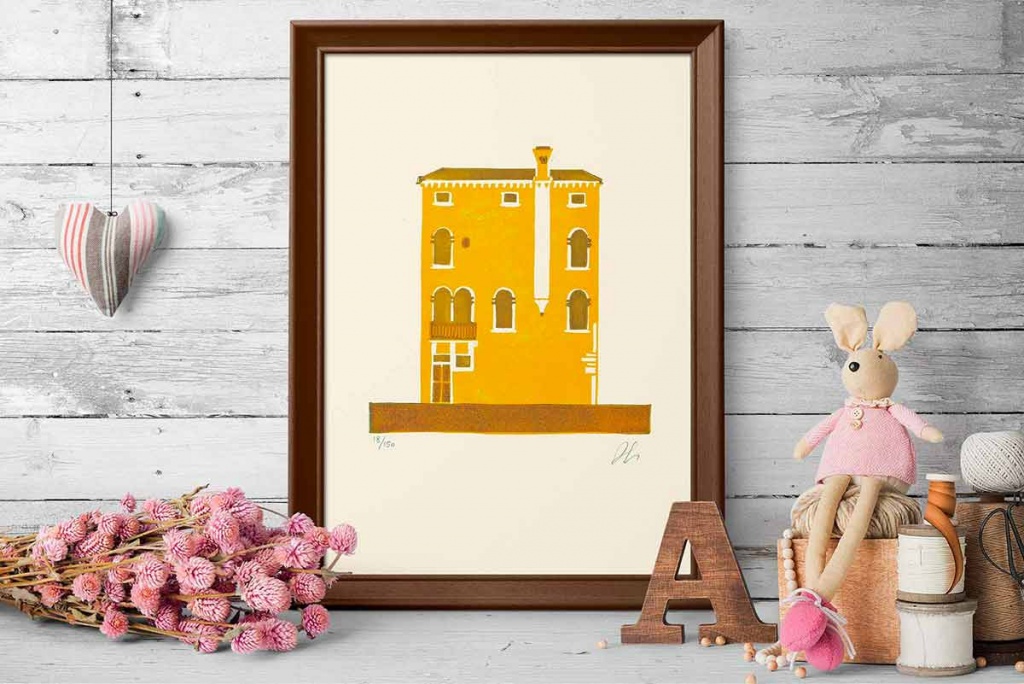
In this series of blogposts I try to explain to those who don’t know the techniques that I have personally used to produce my works and I try to share the charm of the engraving in the production of unique works.
I will try to be as succinct as possible, trying not to bore you with too many technical terms, and share my creative experience, through the knowledge of the creative process. I hope I can help you to understand the work necessary to create an engraving, as well as to make you appreciate the beauty that you can perceive. If you are curious and want to know more, the links of the sources you’ll find at the bottom of the page will be very helpful.
The techniques that I used in the production of my engravings are divided into three categories and take their name from the material used as a matrix (the matrix is the support that is processed and then inked and printed on the sheet of paper):
1. XYLOGRAPHY: from the greek XILON (wood) is the direct engraving on a wooden board. A variant is the Linocut, the direct engraving of a linoleum slab.
2. CHALCOGRAPHY: from greek CALCO (copper) is the direct engraving (or through acids) of a metal plate.
3. LITHOGRAPHY: from the greek LITHOS (stone) is the engraving using a pencil (or lithographic ink) of a stone slab.
1. XYLOGRAPHY AND LINOCUT
The xylography and linocut are embossed techniques. The surface of the plate is the one that receives and transfers the color to the paper sheet; signs engraved remain white. In this case, the drawing should be developed in negative, imaging that the engraved signs are white space that will leave bare the paper after printing, and the parties that have not been removed of the the plate as the colorful signs that compose the drawing.
The direct engraving (without the support of acids) of the sheet of wood (or linoleum) is made with chisels and gouges of various shapes, following the drawing which was previously traced on the plate, considering that the print will mirror compared to the visible signs on the plate. The block can be in wood thread (a panel of wood cut in the sense of the fiber) or head wood (when the panel of wood is cut in the direction perpendicular to the fiber).
The linocut block is a tablet made of linoleum, a modern material composed of a mixture of linseed oil, resins, cork dust and wood lying on a large plot of hemp.
The xylographic block and the linocut one are printed through the inking roller of the plate and the use of a printing press, a flat vertical press or a roller press gravure, following the expedient to place two guides at the sides of the plane of the press, of the same thickness of the plate.
This technique is suitable to the development of extremely graphic works, with clear and strong signs and, where the press uses a single matrix, while you can get much more detailed work, with different colors and shades of light and dark, when the press is obtained by the use of multiple arrays printed one above the other, making sure to overlap perfectly.


 Hidden Canal


 Venice place names: Campi, Campielli, Corti
  Venice place names: Calle, Calle Larga, Salizada, Rio terà, Ramo, Sotoportego
  The Venetian “Fondamenta”
  2 years and still going strong: happy birthday Plum Plum Creations!
  The Bicentenary of Gallerie dell’Accademia – Canova, Hayez, Cicognara