Year: 2014

Ukiyo-e

The works of Utagawa Hiroshige, one of the leading exponents of Japanese art, are displayed in exhibition at Palazzo Grimani – Venice, from September 20th until January 11th.
I went to visit the exhibition (I’ll talk about the exhibition soon in this blog) and I would like to share with you the story of ukyo-e and its origins.

I hope it can be interesting and I also hope to offer you some ideas or simply give you informations that you did not know.

This article is divided into three parts, this is the first one.

The Ukiyo-e is a kind of Japanese xylographic Art Print. Since it is made through the impression of multiple wood matrices in a single subject (each matrix prints at least one color), it shows a wide variety of tones and shades of colors.

The term Ukiyo-e literally means “image of the floating world“, a world that is constantly changing.

The word is also an allusion to the homophone term “world of suffering”, the continuous cycle of death and rebirth, which Buddhists try to avoid achieving enlightenment.

The words of the Japanese writer Asay Ryoi well explain the meaning of this term:

“Contemplating the natural spectacles of the moon, the snow, the cherry blossoms and maple leaves, the taste of singing songs, drinking sake and taking pleasure only in floating along the current of the river as a dried pumpkin shell.”

The rudiments of printing come from China in the Middle Ages and have their first spreading among Buddhist monks.


The genre takes its connotation in the Edo period (1600) thanks to the spread of the merchants, the creation of picture books and posters of the Kabuki theater.

It was originally used only Chinese ink in monochrome prints, later some prints were hand-painted, till when Suzuki Harunobu, in the eighteenth century, developed the technique of polychrome printing to produce nishiki-e.


Huck Scarry – Diario Veneziano

Huck Scarry (whose real name is Richard McClure Scarry) is famous Richard Scarry’s son of art (http://it.wikipedia.org/wiki/Richard_Scarry), a famous author and illustrator of children’s books.

Huck Scarry was born in Connecticut in 1953, and he lives and works in Vienna. After completing his studies at a school in graphics in Lausanne, he has lived in Paris, New York and Venice.

Huck”- the name that he usually uses to sign his works – is the nickname of Huckle Cat, one of the recurring characters of Busytown, an imaginary town inhabited by a variety of anthropomorphic animals described in various children’s books of the father.

When Huck works with his father’s style, he signs “Richard Scarry”.

In this article I want to talk about his book “Diario Veneziano” (Venetian Diary) realized in 1993, which contains a series of watercolors and pencil drawings of Venice, and which was -and still is- a great inspiration for my work.

The book was created by collecting pencil sketches and watercolor paintings produced along the streets and the canals of the famous lagoon city, as just he says in the introduction of the book: “Whenever I could, I took my box of colors, my sketchbook and my folding chair and I went to paint through the streets of Venice and on the lagoon. The drawings filled my clipboard and became the beginning of my Venetian diary … ”

The watercolors which you can see in this wonderful collection are light and fast, yet accurate and fine workmanship, and carry us into the magic of a city among the most mysterious yet still narrated for the multiplicity of its faces.

The artist’s eye captures new mysteries even when he observes known and overexploited by the “postcards” of Venice subjects, through a different point of view, giving new life to inanimate objects which seem to breathe in the suffused pastel colors, the play of lights and shadows on the chipped walls and on the old marbles, in the multi-colored reflections of the world on the ancient water of Venice.

Another important part of this book are the drawings in graphite, extremely light but with a strong character, so simple and yet perfect in telling the strong complexity of Venetian architecture, its bridges, chimneys and wells.

I highly recommend this book to all those who love art and good artists, to those who love Venice even without knowing it, and those who, like me, loves, knows and lives every day the most beautiful city of all.

To conclude, I really hope that among all the people who every day stop for streets and squares to portray glimpses and views of Venice, there should be someone who will give us another book beautiful like this.


Sources

http://en.wikipedia.org/wiki/Richard_Scarry

http://it.wikipedia.org/wiki/Richard_Scarry

http://en.wikipedia.org/wiki/Busytown

Introduction: “Diario Veneziano”, Huck Scarry, Arnoldo Mondadori Editore 1993

Engraving – part #3

LITHOGRAPHY

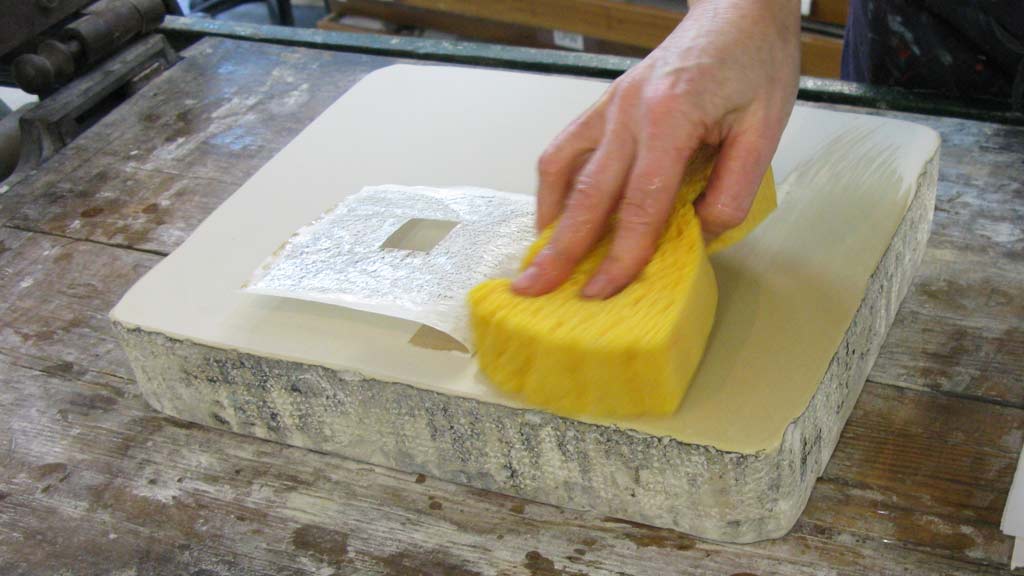
Lithography is a printing technique through the use of a limestone plate . The main component of this type of stone is the calcium carbonate, which has the property of changing in surface its chemical composition in contact with acids, and easily accommodate the fatty substances. Due to this property, you can create areas with different physico-chemical properties on the surface of the stone: hygroscopic, which attract and hold the water, but repel greasy-resinous inks; fatty, which repel water but retain inks.

To prepare the stone matrix, you can use two methods: the chemical one and physical one. Among the others, the techniques of pencil lithography or brush lithography belong to the chemical method; engraved lithography and embossed lithography belong to the physical method. In this article I will deal only the techniques that I have personally used to produce my works.


PENCIL LITHOGRAPHY AND CRAYON LITHOGRAPHY

Initially, the stone is smooth and cleaned by wiping it with another stone, once you have beveled the corners. Once it is dry, we proceed by drawing with a pencil or a lithographic crayon directly on the stone. In this way you will get the prints very similar to pencil drawings, with shading and chiaroscuro.

Once the drawing is finished, you should dust the surface of the plate with fine talc and skip to the etching of the matrix, stretching out on the entire stone a solution of arabic gum and acid with a broad brush and letting it dry for at least 12 hours.

The next steps are washing the acid away from the stone and spreading a thin layer of arabic gum to protect the parts of the stone that will remain white.

With a solution of turpentine and oil you check the areas of the matrix drawn with the pencil or the crayon, removing them, and you pass a thin layer of “litofina” (a mixture of tar and turpentine), which, penetrating into areas previously drawn, makes them even more fatty and therefore easily inkable.

After it has dried, you dust with talc, making the stone a matrix ready to be printed with a lithographic press.


BRUSH LITHOGRAPHY

In the brush lithography technique, the preparation of the stone is the same as described above, with the difference that the drawing is made on the stone with a brush and with the lithographic ink. To obtain various color shades, it is appropriate to dilute the ink some water. In this way, the array will report on the lithographic printing an effect very similar to a painting, with the gestures and the variety of signs that this could give.

To get a good variety of tones, from the lightest to the deepest black, the stone should be treated with a neutral soluble salt. The rest of the processing of the matrix is the same as described above for the crayon or pencil technique.

Engraving – part #2

2. CHALCOGRAPHY

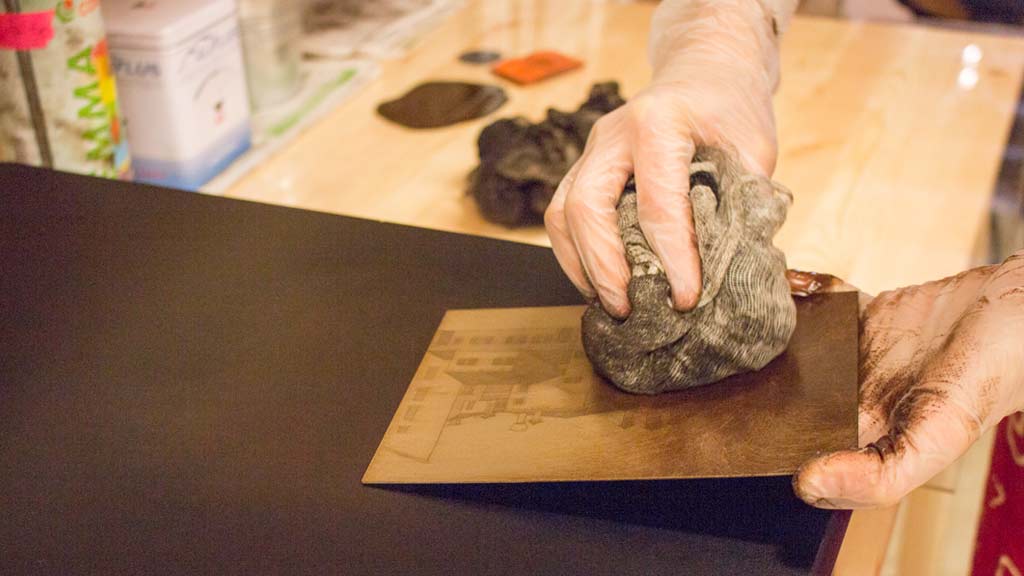
The copperplate engraving is a “hollow” printing technique. The signs engraved on the plate take the color and transfer it on the paper during the printing process, while the areas of the matrix that have not been processed retain the color of the paper. In this way, the signs made on the matrix become directly the signs that will be printed on paper.

The chalcographic matrix is a sheet of metal (copper, zinc, brass, aluminum) that can be more or less hard, and which can be worked directly (in this case the strength of the hand, with the help of metal tips, engraves the matrix) or indirectly (here instead the acid corrodes and digs the sign on the plate).

DRYPOINT

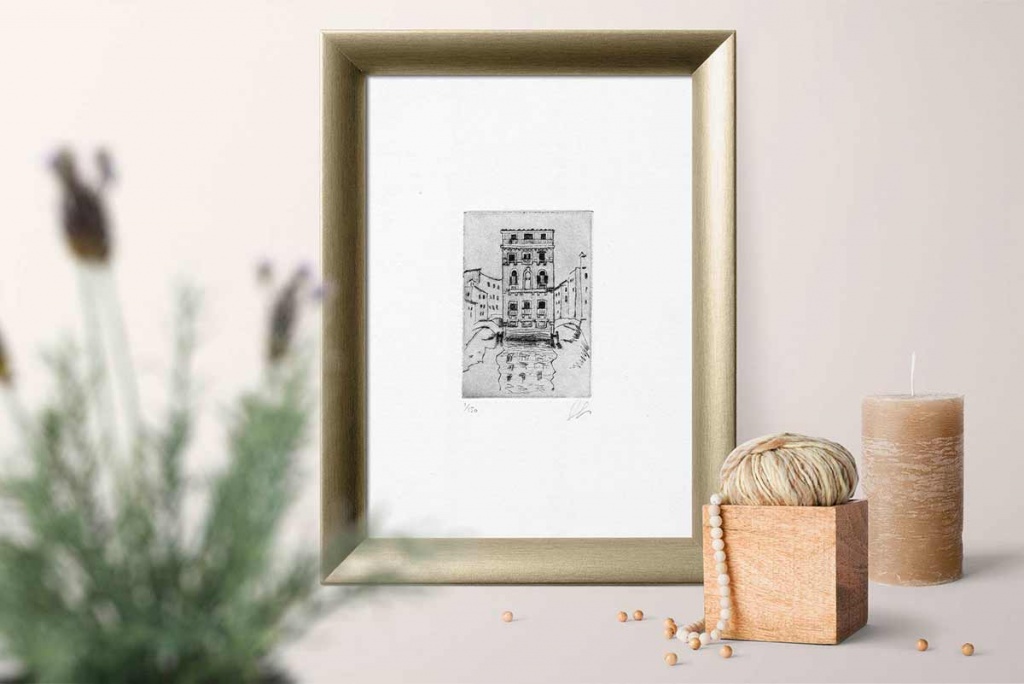
Working in a direct manner, called drypoint, consists in engraving the plate with a hard point that, opposing more or less force, raises the barbs (small ridges of metal corresponding to the created groove). These ridges, together with the engraved sign, retain color during the inking phase and create a special and recognizable effect.

The processing in an indirect manner which makes use of acids and spread in different ways, often used together, which will give different results. The two main processes that I have experienced are: acquaforte etching and aquatint.

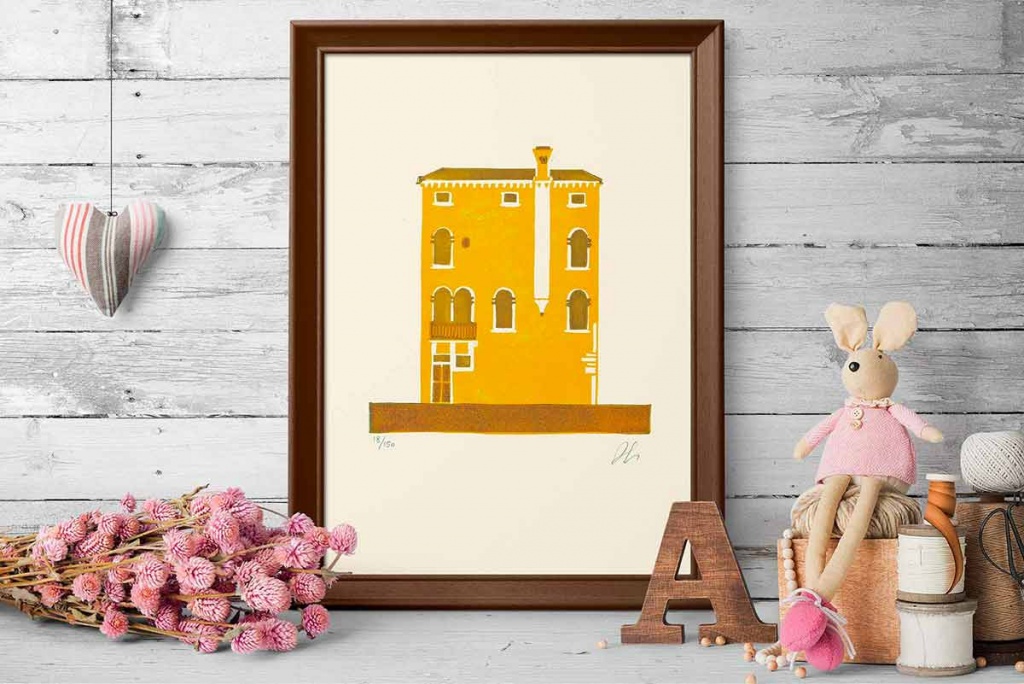
Drypoint – Venetian house in Castello district

ACQUAFORTE ETCHING

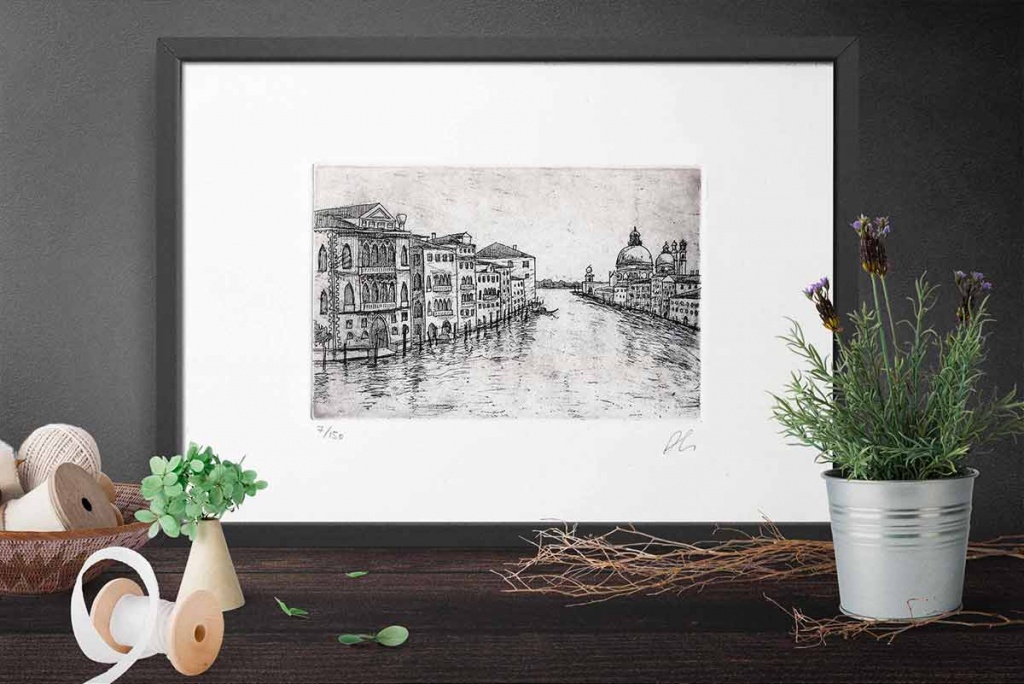
We use this technique to get marks on the sheet. The metal matrix, after being cleaned and polished is protected with a special paint, which will prevent the acid to act on the whole surface.

Thanks to a tip, signs are traced on the matrix that deprive her of her protection. Once the plate is immersed in the acid, these signs will be subject to the corrosive action in the metal engraving in the metal, more or less in depth, depending on the time of exposure in acid.

You can achieve different intensities in the various signs of the same plate, proceeding with various morsure (in acid baths) and protecting the signs you want to be lighter with the paint.

Aquaforte etching – Grand Canal from Accademia bridge

AQUATINT

This technique is used to obtain shades of different intensities on the plate. Even in this case, the slab must be protected from the corrosive action of the acid, but unlike the acquaforte etching, paint is not used, but a very fine powder evenly spread on the metal surface.

Then the slab is heated and the powder melts on it, protecting and allowing the acid to act simultaneously on the metal in a controlled manner.

To obtain different intensities it is sufficient to protect areas of the sheet that you want to keep clearer by spreading a layer of protective paint and working with various morsure.

An alternative to the use of special dust is to spread an even layer of spray paint on the plate.


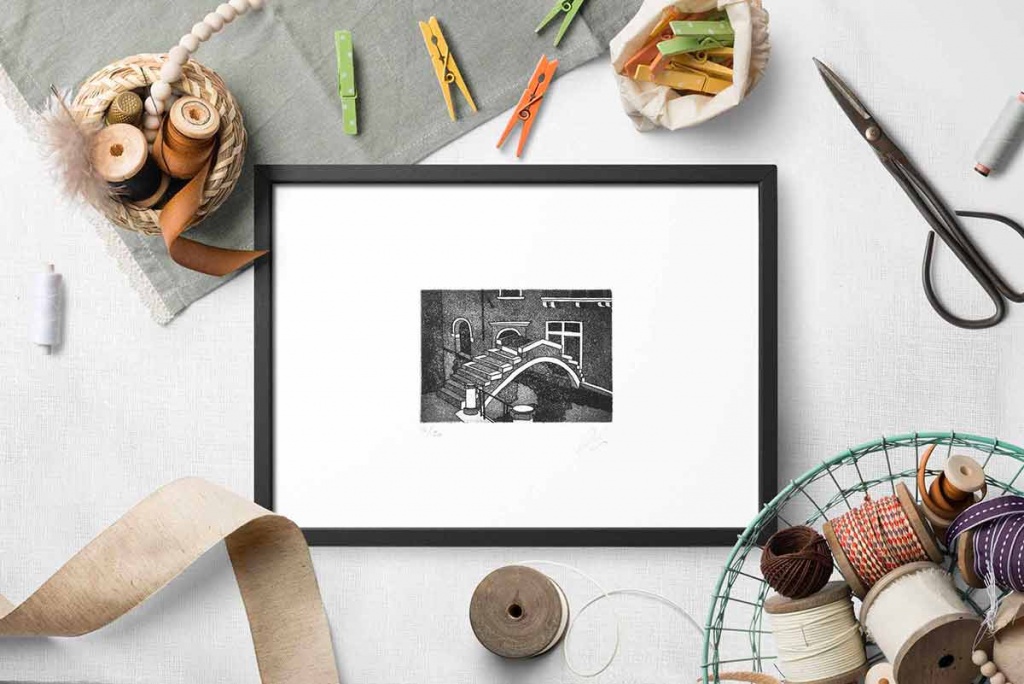
Aquaforte + Aquatint – Ponte Chiodo in Venice

SUGAR LIFT

The other technique that I used in my work is the so called sugar lift, which makes possible to achieve an effect similar to watercolor.

This technique consists of painting the plate with a brush soaked in a special sugar solution, and once dry the plate is covered with a thin layer of protective paint. Later, hot water is poured on the slab which separates the paint from areas treated only with the sugar solution, and we proceed to protect exposed areas as in aquatint (with special fine powder or spray paint).

At this point the plate is immersed in acid as usual and it is possible to proceed with the various morsure.

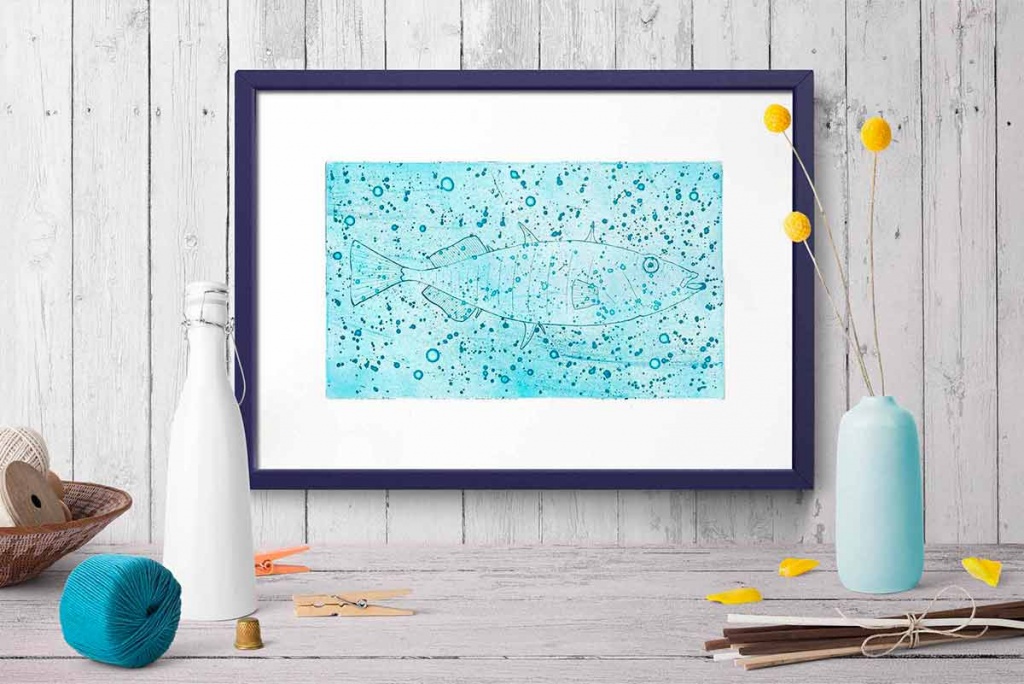
Aquaforte etching + sugar lift – Fish

Sources

Engraving – part #1

In this series of blogposts I try to explain to those who don’t know the techniques that I have personally used to produce my works and I try to share the charm of the engraving in the production of unique works.

I will try to be as succinct as possible, trying not to bore you with too many technical terms, and share my creative experience, through the knowledge of the creative process. I hope I can help you to understand the work necessary to create an engraving, as well as to make you appreciate the beauty that you can perceive. If you are curious and want to know more, the links of the sources you’ll find at the bottom of the page will be very helpful.

The techniques that I used in the production of my engravings are divided into three categories and take their name from the material used as a matrix (the matrix is the support that is processed and then inked and printed on the sheet of paper):

1. XYLOGRAPHY: from the greek XILON (wood) is the direct engraving on a wooden board. A variant is the Linocut, the direct engraving of a linoleum slab.

2. CHALCOGRAPHY: from greek CALCO (copper) is the direct engraving (or through acids) of a metal plate.

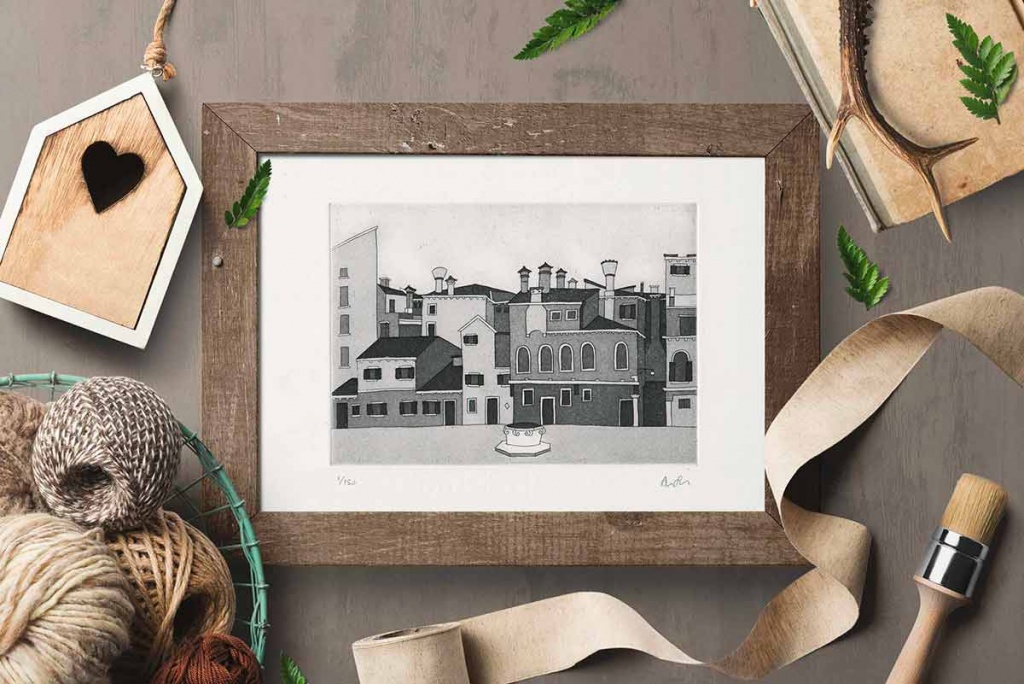
Campo della Maddalena – Chalcography

3. LITHOGRAPHY: from the greek LITHOS (stone) is the engraving using a pencil (or lithographic ink) of a stone slab.


1. XYLOGRAPHY AND LINOCUT
The xylography and linocut are embossed techniques. The surface of the plate is the one that receives and transfers the color to the paper sheet; signs engraved remain white. In this case, the drawing should be developed in negative, imaging that the engraved signs are white space that will leave bare the paper after printing, and the parties that have not been removed of the the plate as the colorful signs that compose the drawing.

The direct engraving (without the support of acids) of the sheet of wood (or linoleum) is made with chisels and gouges of various shapes, following the drawing which was previously traced on the plate, considering that the print will mirror compared to the visible signs on the plate. The block can be in wood thread (a panel of wood cut in the sense of the fiber) or head wood (when the panel of wood is cut in the direction perpendicular to the fiber).

The linocut block is a tablet made of linoleum, a modern material composed of a mixture of linseed oil, resins, cork dust and wood lying on a large plot of hemp.
The xylographic block and the linocut one are printed through the inking roller of the plate and the use of a printing press, a flat vertical press or a roller press gravure, following the expedient to place two guides at the sides of the plane of the press, of the same thickness of the plate.
This technique is suitable to the development of extremely graphic works, with clear and strong signs and, where the press uses a single matrix, while you can get much more detailed work, with different colors and shades of light and dark, when the press is obtained by the use of multiple arrays printed one above the other, making sure to overlap perfectly.

Fondamenta Ca’ Balà – Linocut

Sources

show